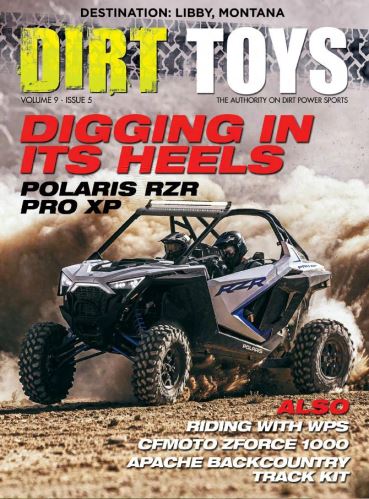
The build for the project side-by-side Backcountry RZR is a work in progress. This time around Eric Tibbens installs Under Armor from Idaho Falls, ID-based UTV Tech.
Tibbens said, “This UTV Tech Under Armor is no joke. You can tell it’s high grade right off the bat because it was shipped on a pallet.”
To start the install, Tibbens had to find a way to raise his side-by-side off the ground since he doesn’t have a hoist. He determined the easiest way for him to be able to access the under body of the RZR was to find a beam to winch the nose of the RZR up in the air and leave the rear tires on the ground.
Once he had the RZR’s front off the ground, he was amazed at what he saw. He said, “As I began to remove the factory skid plate I was very surprised how flimsy and cheap it was. There were holes punched through it in three spots and it had a lot of really deep gouges and scrapes and was even torn in a few places. It’s not something you really think about when your taking the RZR out to ride but the underneath is definitely a vulnerable place that could use some extra protection.”
The removal process was very simple. He used a 10mm socket and a cordless impact gun and the removal of the stock skid plate took about 10 minutes or less. Then, Tibbens said, “This is where it got a little tricky. As I took the product off the pallet I had to lay it all out on the floor to try and get an idea of where it all goes, as there were zero instructions. None.”
Figuring It All Out
The kit comes with the needed bolts to attach the A-arm guards for the front and rear and self-tapping screws for the fender armor. However, he said, those parts were just in bags and it took some sorting to figure out which bolt went where. But once he figured that out it was smooth and easy.
He started in the front with the A-arm guards and then moved back and did the rear A-arm guards. Next, while he had the bottom all exposed, he put the gas tank guard in and the mud guard on the opposite side on. He pointed out that you can put these on after the main skid plate is installed but he thinks it would be much more difficult. The rock sliders that wrap up from the bottom need to be installed before the main skid plate as the main skid plate overlaps them, so install the rock sliders first.
Now it was time for the main skid plate. “The main skid plate really does give quite a bit more protection than the factory plastic skid plate,” he said, while making the point to remember to keep all the factory bolts and washers from the original skid plate as you will need them on the UTV Tech skid plate.
When installing the main skid plate he started in the front up by the bumper and installed the first of three pieces that make up the main skid plate. Leave the bolts semi loose as the second section slides underneath the first and the third underneath the second. Two sets of hands really make this job a lot easier, he said, as the “pieces are not the lightest things in the world.” Once all pieces were installed he tightened them down and was done with that section.
Almost Finished
The last part of all this under armor was installing the inner fender guards, which are extremely simple to install. They are installed using the self tapping bolts. Simply line the existing holes in the fender guard with the frame of the RZR and zip the bolts in.
Tibbens said the entire installation was “actually very easy to do, but UTV Tech definitely needs to get a set of instructions put together as most of my time was spent figuring out what goes where and which bolts to use.”
After the installation, it was time to see just how good the Under Armor is. “I have taken the RZR out a few times since and really put the UTV Tech Under Armor to the test. I was able to slide right over fallen trees on the trails without catching or snagging up and on a few occasions while flying down the trail I misjudged some rocks and smacked into them.”
He added, “Last deer season I smacked a rock with my A-arm and ended up having to replace that A-arm, but with these steel arm guards and the sweet hammered finish it didn’t dent or even chip the finish. I am thoroughly impressed with this product and have since convinced some of my friends to order it for their RZRs.”
He concluded, “No one thinks about the bottom of the RZR as it is never seen and it is probably the most abused part on the machine. I will continue to recommend this product to everyone I can and if I ever get another machine it will most definitely be going on.”

